 Welcome to Herpurse curse!


A most magical time of year! Herpurse curse DIY Wrapping Paper & Decoration!
The Holidays are almost upon us & the magic of this season can be found everywhere you turn. At Herpurse curse, we’ve always loved a decoration (& had a weak spot for wrapping paper), so we teamed up with our clever friend Calley of @raisingrodmans on this fun & festive upcycled Playpa wrapping paper & decoration DIY! It’s the perfect activity to keep little hands VERY busy, get the house decorated & the presents wrapped all at the same time - WIN!

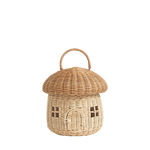
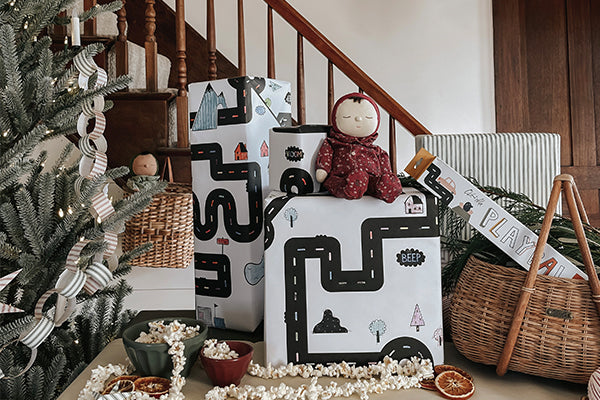
Product featured: Holiday Dozy Dinkum, Playpa, Mosey Basket
Pile your Playpa wrapped parcels under the tree for a personal touch that’s sure to busts hearts with pride!

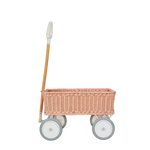
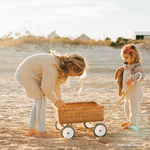
Product featured: Holiday Dozy Dinkum, Playpa, Mosey Basket, Wonder Wagon
Simply let your little ones get creative with their pencil tin and rolls of Playpa! Cut and wrap your gifts in the finished Playpa art & display them for all to see
DIY PAPER STAR DECORATIONS
The perfect way to upcycle leftover Playpa or wrapping paper


Step 1: Cut out the paper.
You’ll need two equal squares to make one star. In the video below Calley uses 6" squares.

Step 2: Fold the paper in half.
On each square, fold the blank sides together at the corners and press the fold flat. Do this in both directions on each square so when the square lays open, you see two diagonal folds going corner to corner.
Step 3: Fold the paper in half again.
For the second fold, fold the straight edges to match each other, pattern side together. Again, do this to all four sides on both squares.
When the squares lay flat, you see fold lines going straight across on each side, plus the corner-to-corner folds.
Step 4: Cut the star points.
To make points that fold, you need to cut the square edges. Using craft scissors, cut almost halfway in from the outside edge towards the center from the center lines only, not the corners! Each square will have four cuts. If making the 6" stars these cuts will be at 1 1/4".
Step 5: Make the star points.
To make the star points, lay the squares on their backs (pattern side down) and carefully fold from the cut, towards the fold line, keeping the point in each corner.
Do this on all four corners for each square.
Step 6: Glue the star points together.
To make the points hold their shape and to give them that 3D look, you need to glue the folded point sides together with craft glue.
To glue the points together, place glue on one side of each star point and fold in half so the two printed sides are touching. Squeeze tightly with your fingers to hold in place until the glue slightly dries.
Step 7: Glue the stars together.
Add a dab of glue to each corner at the base of every point and put the other half of the star on top, with its points juxtaposed between the points of the other star half.
Hold it together gently for maybe 20-30 seconds–hold longer if your craft glue bonds slowly!
For the other sizes of stars here is the guide on where to make your four cuts.
12″x 12″ Star – Mark at 2 1/2″
6″x 6″ Star – Mark at 1 1/4″
3″x 3″ Star – Mark at 5 /8″
Watch the how-to video before you start!
PAPER CHAIN DECORATIONS
Playpa or Wrapping paper offcuts are great for this craft!

Step 1 - Cut strips
Cut equal strips of paper. We like them thin and long but there’s no wrong size!
Step 2 - Create circles
For the first chain add a dab of glue or tape to one end of it and bring the other end around to make a circle.

Step 3 - Loop through
Once you have one sturdy ring, thread another strip of paper through the center of the loop. Now, join the ends of this second strip together like you did with the first strip! You will now have a chain.
Step 4 - Create a chain
Keep adding links until your chain is the length you like!
Watch the how-to video for inspo before you start!
Follow @raisingrodmans for more craft & holiday fun!
