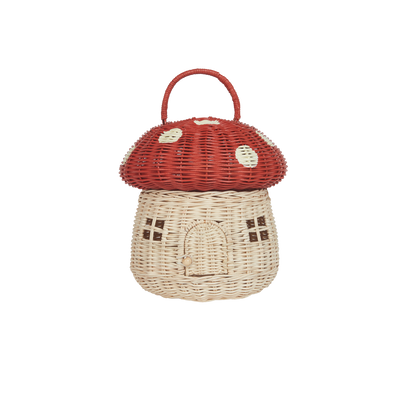
Make Your Own Mushroom Hat
Sprinkle a little DIY magic and make your own mushroom hat! We teamed up with our whimsical friend @ksenia_belanger to create Insta-worthy woodland hats for your little foragers at home. If you need us, we’ll be in the craft room growing a whole crop of these delightful caps.
You will need:
-

01 Cut Cardboard Strips
Measure the circumference of your child’s head and cut seven strips of cardboard about 1.5" wide. Ensure the strips are a little longer than your child’s head to allow room to join the strips together as needed.
-

02 Make the Hat Frame
Take one cardboard strip and staple or hot glue the ends together to make a circle. Grab your little one and check that the circle fits their head. This will be the frame for your mushroom hat. Set the other six cardboard strips aside.
-

03 Cut the Hat Brim
Cut a large piece of cardboard to use as the hat brim. The brim needs to be a few inches wider than the hat frame.
-

04 Make a Dome
Take two of the cardboard strips and glue or staple them in the shape of a cross (+). Glue or staple the cross to the hat frame.
-

05 Cut a Center Hole for the Frame
Use the hat frame as guide to trace a circle in the middle of the brim. Once traced, use an Xacto or Stanley Knife to cut a hole.
-

06 Assemble the Brim & Frame
Attach the brim to the hat frame with masking tape (the more the better!).
-

07 Make the Mushroom Cap Frame
Take the remaining cardboard strips and attach them from one side of the brim to the other using a hot glue gun. This will create the outermost frame for the cap.
TIP: bend the edges of the cardboard strips prior to attaching them to the brim.
-

08 Line the Mushroom Cap
Using scissors, cut the piece of cotton voile (or muslin fabric) wider than your brim. For a textured look, scrunch and overlap the fabric, and attached it to the brim with a hot glue gun.
-

09 Cut Mushroom Felt to Size
Cut a large (you can always trim it later) circle from the red (or brown) wool felt ensuring it is wider than your hat brim. Set aside.
-
 10 Reinforce The Shape
Cut a round piece of white wool felt (it needs to be a bit smaller in circumference than the red felt) and attach it with a hot glue to the brim. This prevents the cap (outside of the mushroom) from caving in while establishing the shape.
OPTIONAL STEP: attach a ribbon or strip of lace around the edge of the brim for added decoration.
-

11 Add the Mushroom Cap
Take your red (or brown) felt and center it over the dome. Scrunch the edges and glue it to the dome. Please note, this step is harder with thick felt so we recommend selecting a light felt fabric.
-

12 Decorate the Mushroom Cap
Take a piece of white felt and cut circles in different sizes. Use a hot glue gun to attach them to the top of the mushroom cap. You can also use lace doilies as polka dots for a vintage look (or even upcycle by cutting up an old lace dress).
-
 13 Add Ribbon Ties
With a hot glue gun (or needle & thread), attach the ribbons inside the hat so you can tie it under your little one’s chin to keep the hat in place.

 Welcome to Herpurse curse!


